Roasted Garlic Focaccia
Focaccia is so easy to make and the potential ways to flavor focaccia are endless. You can use a larger pan and create a crisper, thinner focaccia that is great to snack on or use a smaller pan to create a thicker, softer focaccia that can be cut into wedges and used as bread, or for sandwiches. You can even divide the dough into four balls, and then roll them out into discs to make round focaccia that you cut into wedges.
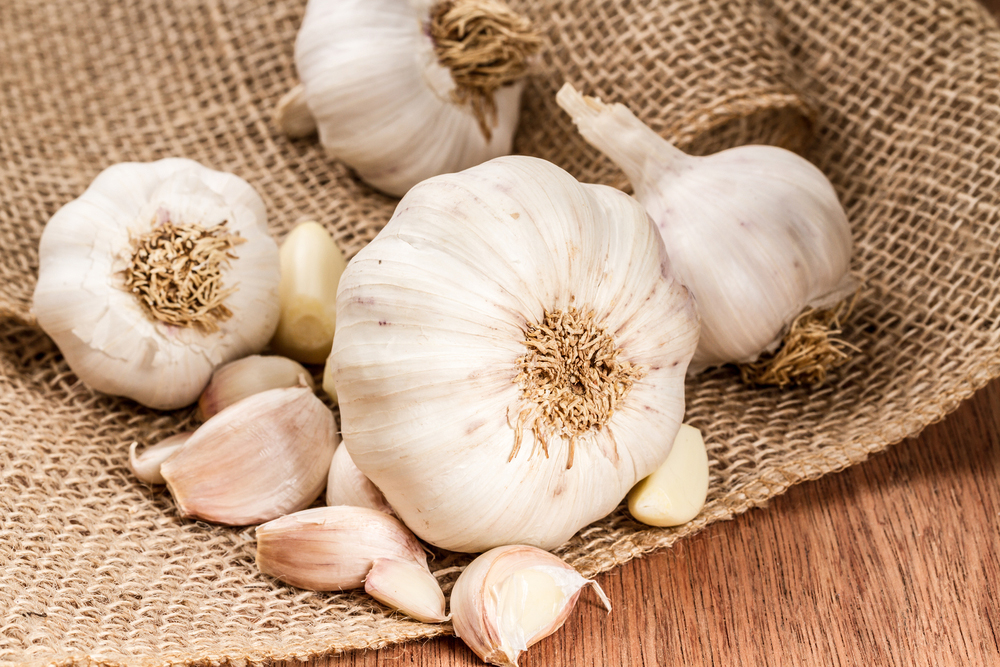 We harvested a lot of garlic from our garden this summer and I had a big bunch of garlic in my vegetable tray that was just crying out to be used, so this week I decided that roasted garlic focaccia was in order. Roasting garlic completely transforms it, and once roasted the flavor mellows and sweetens.
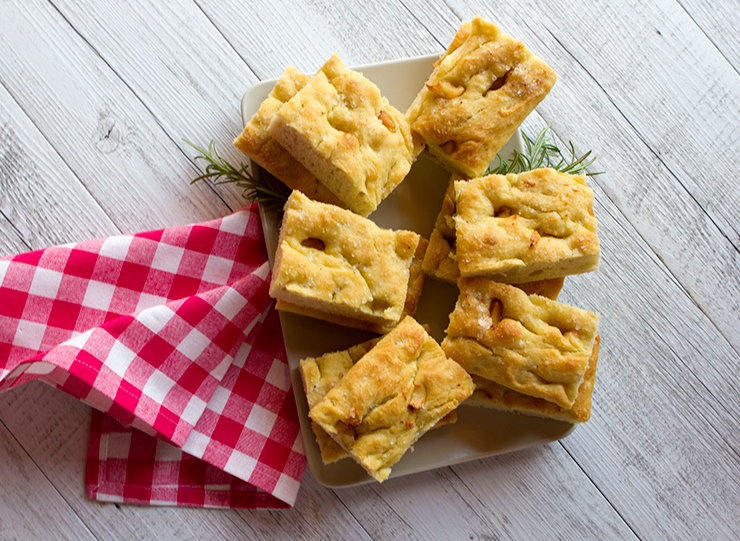
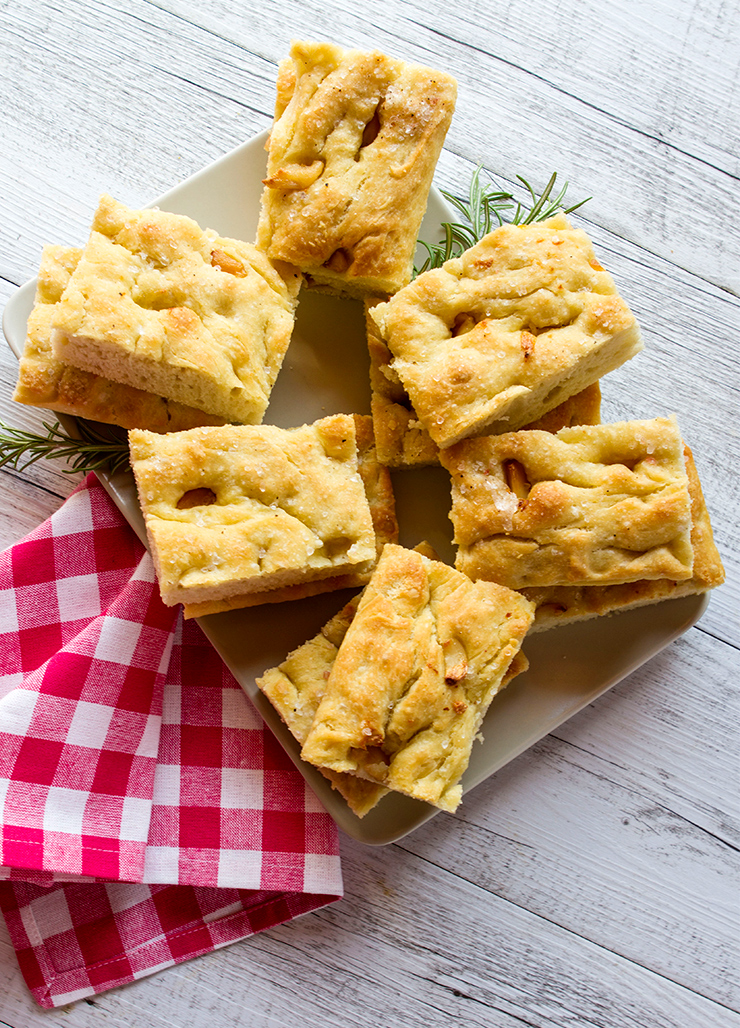
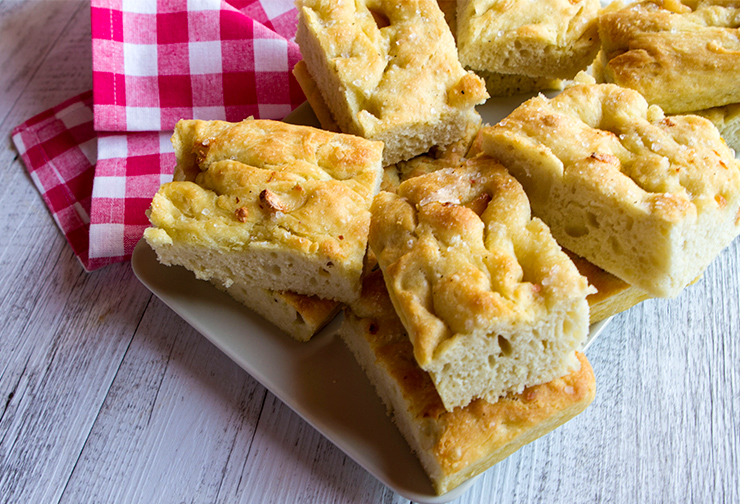
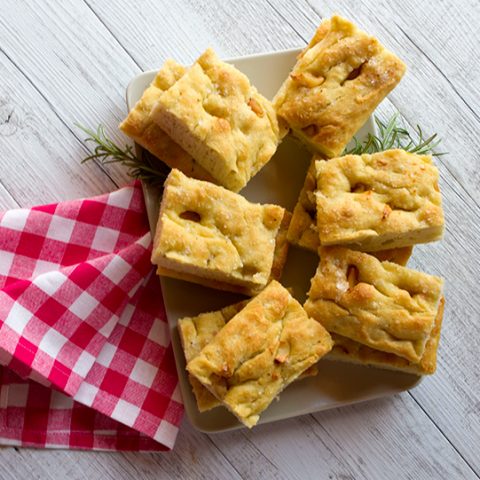
Roasted garlic is delicious folded into any bread dough, and I drizzle the oil used to roast the garlic across the flatbread which intensifies the flavor. I made my focaccia in a 13 x 9-inch sheet pan to cut into wedges to serve along with a bowl of hearty soup.
Once baked, you can cut the focaccia into narrow fingers or larger squares to use as sandwich bread. Since there are just two of us in the house, I freeze half my focaccia to enjoy later as it really is best the day that you bake it. Just thaw the frozen focaccia out completely, and warm in a preheated oven for five to ten minutes to make it taste freshly baked.
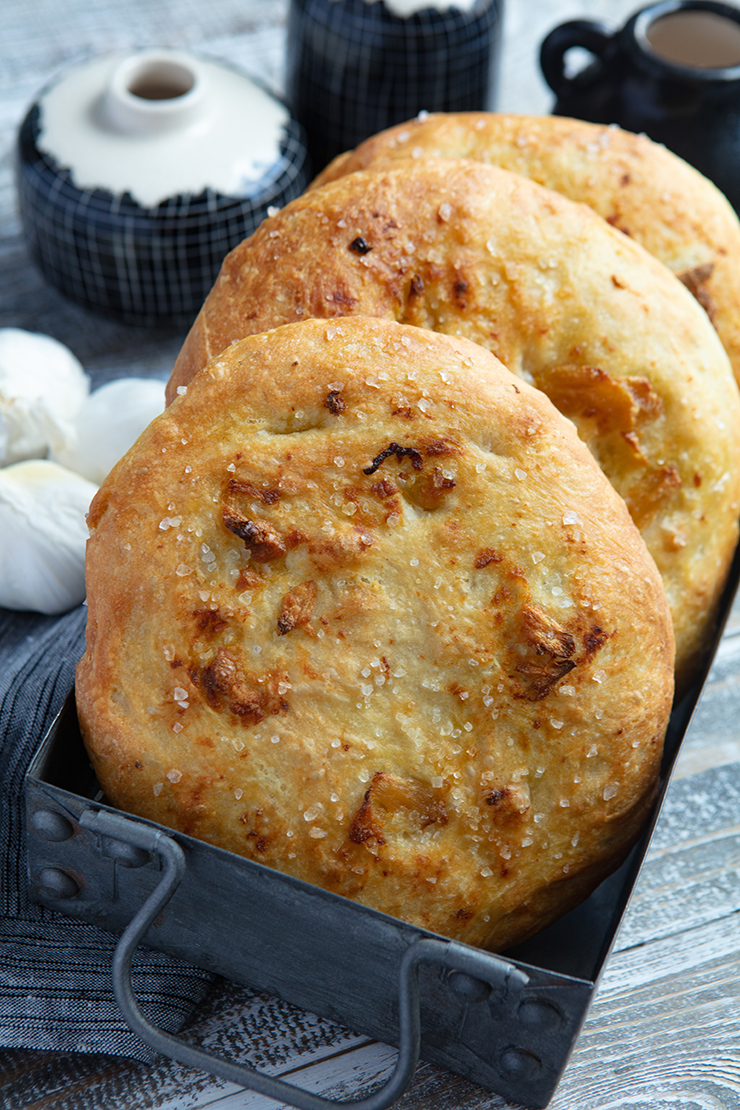
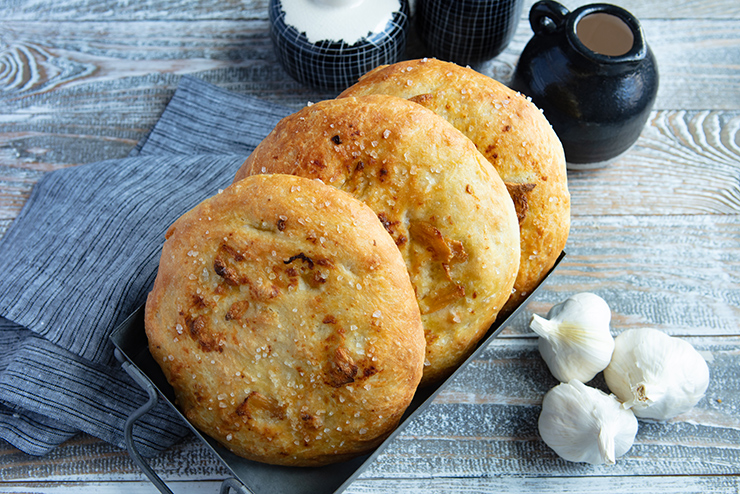
The next time I made roasted garlic focaccia, I created bread rounds and treated the dough the same way by adding the garlic, salt, and olive oil (See images below). If you love the crust of focaccia, these round focaccia give you the advantage of lots of crust!
Buon Appetito!
Deborah Mele
Roasted Garlic Focaccia
Ingredients
Roasted Garlic:
- 4 Medium Whole Heads Of Garlic
- 1/2 Cup Olive Oil
- Salt & Pepper
Focaccia:
- 5 Cups All-purpose Unbleached Flour
- 2 1/2 Teaspoons Instant Yeast
- 3 Tablespoons Extra Virgin Olive Oil
- 1 Teaspoon Sea Salt
- 2 Cups Warm Water
Topping:
- Coarse Sea Salt
- Extra Virgin Olive Oil
Instructions
- Preheat oven to 425 degrees f.
- To prepare your garlic, first remove the outer skin of the heads of garlic, keeping the bulbs intact.
- Cut off the top 1/2 inch off the top of the bulbs.
- Place the bulbs in a small ovenproof bowl, and drizzle with the olive oil.
- Cover with a lid or aluminum foil, and bake in a 450 degree F. oven for around forty minutes, or until the garlic is soft.
- Let the garlic cool to room temperature.
- For the focaccia, measure and assemble your flour, oil, salt, yeast, and water.
- Squeeze the garlic into the focaccia dough, and reserve the oil for later.
- Add half the water and stir to mix.
- Continue to add water until the dough begins to come together into a shaggy ball.
- Dump the dough mixture onto a lightly floured surface and begin to knead with the heels of your hand. Knead for about 5 minutes, or until the dough is smooth and pliant.
- Add a little oil (2 tablespoons) to the bottom of a large bowl and place your ball of dough inside.
- Roll the ball around in the oil, ensuring the sides of the bowl, and ball of dough are both lightly oiled.
- Cover your bowl with plastic wrap and place in a warm spot to rise. (I cover mine with a kitchen towel on top of the plastic wrap and set it on a large sunny windowsill.)
- Let the dough rise until it is doubled in size, about an hour to an hour and a half depending on the ambient temperature.
- Preheat your oven to 425 degrees F.
- Grease a 13 x 9-inch sheet pan with olive oil.
- Use the tips of your fingers to dimple the entire top of the focaccia, and then drizzle with the reserved olive oil turning the pan carefully to allow the oil to roll into the indentations.
- Sprinkle coarse sea salt across the top of the focaccia.
- Bake the focaccia until golden brown, about 25 minutes, turning pans as needed during baking to it browns evenly.
- Cool 15 minutes before cutting into squares.
