How To Make Pici Step By Step
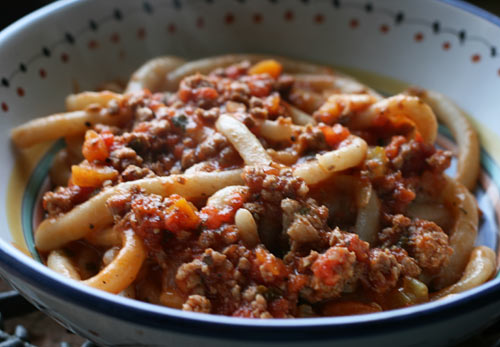
Pici is a thick, hand rolled pasta, similar to fat spaghetti usually made from just flour and water. It originates in the province of Siena in Tuscany, and in the Montalcino area it is also referred to as pinci. This is a hearty pasta so it best served with a rich meat sauce, although a chunky spicy tomato sauce is also delicious.
Making pici by hand is labor intensive so it might be something you’d save for special occasions, but would be a fun activity for guests to help out with if you had the room.
The dough is traditionally made from flour and water, but I like to add just a little olive oil to give it some elasticity which helps prevent breakage when rolling it and moving it to the pot for cooking. Some Tuscan families also add egg to their pici but that is less common. The pici dough is rolled out in a thick flat sheet, then cut into strips.
There are two methods to rolling the pici. The first method uses one hand to hold the pici while the other hand rolls it away from the hand holding, and the second method and the one I prefer, is simply starting in the center of the strip and using both hands rolling the strip between palms and fingers moving away from the center.
Either method forms a thick pasta thiner than a common pencil, but much thicker than commercially sold pici. Unlike spaghetti or macaroni, this pasta is not uniform in size and has variations of thickness along its length which adds to it’s “homemade” charm.
I have experimented with flour in this recipe as some recipes call for tipo 00 which is similar to an American cake flour, others call for all-purpose flour, while some even call for a blend of semolina and all-purpose flour. I’ve tried making it with just tipo 00 and the completed pici is more tender to the bite just as you’d expect although rolling the pici is a little more difficult due to it’s softness.
The pici made with just all-purpose flour is easier to roll, but takes a little longer to cook and is just a little more firmer to the bite. I found a combination of half tipo 00 and half all-purpose created a dough that was easy to roll, and still tender to the bite. Feel free to experiment with the flour to find which type of flour you personally prefer.
Serves 4 – 6
by Deborah Mele
5 Cups Flour (Either Tipo 00, All-purpose, or A Combination – See My Note Above)
1 Tablespoon Olive Oil
1/2 Teaspoon Salt
Additional Ingredients:
Extra Flour For Rolling & For Drying
Olive Oil for Rolling
Grated Cheese For Serving
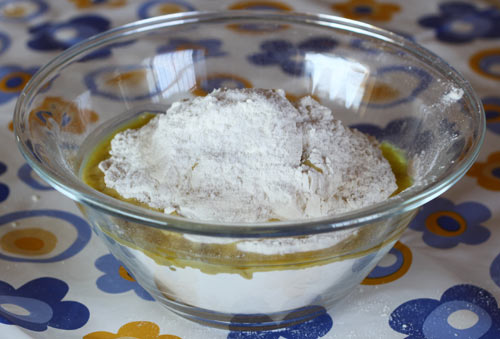
Assemble your flour, olive oil and salt in a bowl.
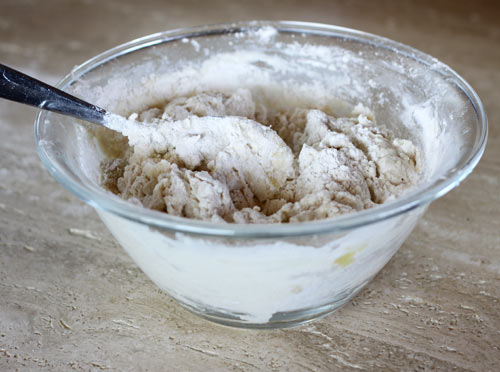
Add just enough water to create a loose, but not too wet dough, mixing with a spoon. Start with about 2/3 of a cup of water, and add additional as needed.
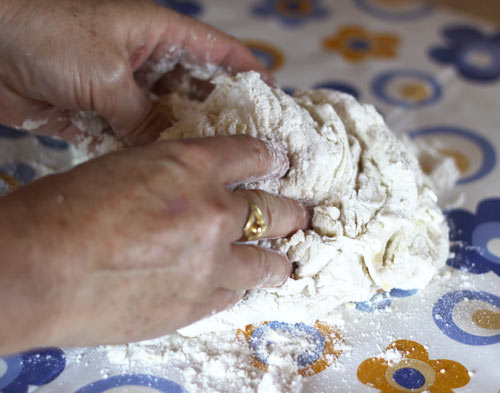
Dump your dough out onto a lightly floured surface and work it with your fingers to create a ball of dough.
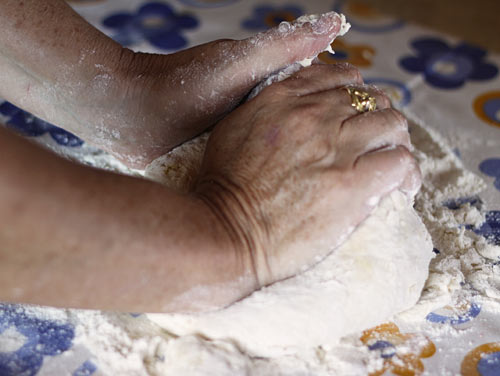
Knead your dough for about 5 minutes as you would knead bread to create a smooth, elastic dough.
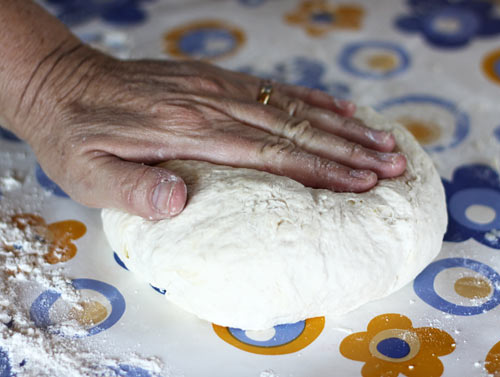
Shape your kneaded dough into a disc shape and wrap with plastic wrap.
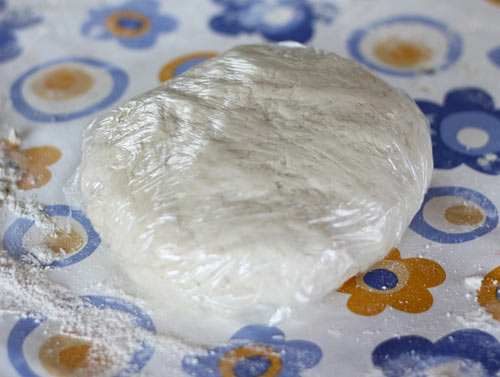
Let your dough rest for a minimum of 30 minutes or up to two hours. This is an important step that allows the dough to relax and make it easier to roll out.
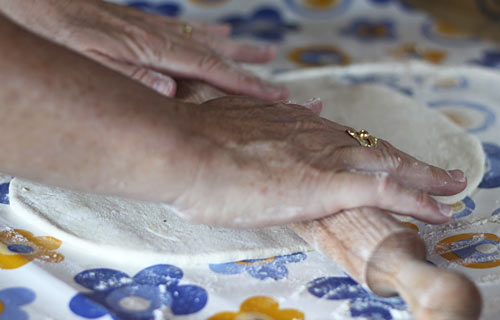
Divide your dough in half, leaving one half covered in the plastic wrap while you work with the other half. Use your rolling pin and roll out your dough on a lightly floured surface until it is about 1/4 of an inch thick.
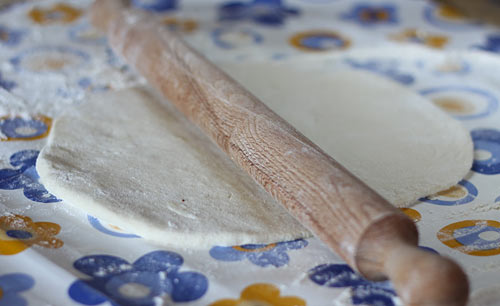
Try and keep your dough in a rectangular shape as you roll to make cutting strips easier.
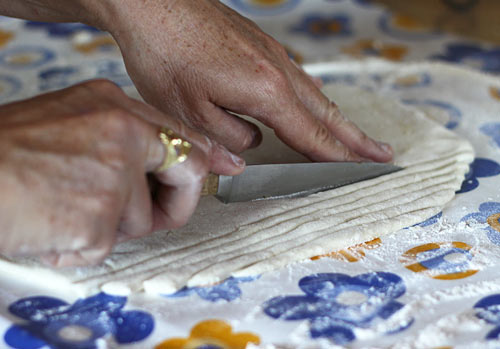
Use a sharp knife and cut strips in your dough lengthwise. You can do this all at once, or cut each strip as you roll your pici by hand.
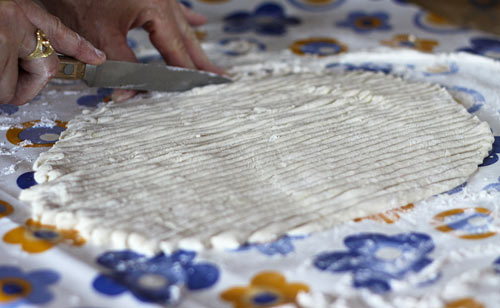
The finished rolled dough cut into strips. Don’t worry if the strips aren’t completely even as you cut because they will even out once you begin to roll your pici.
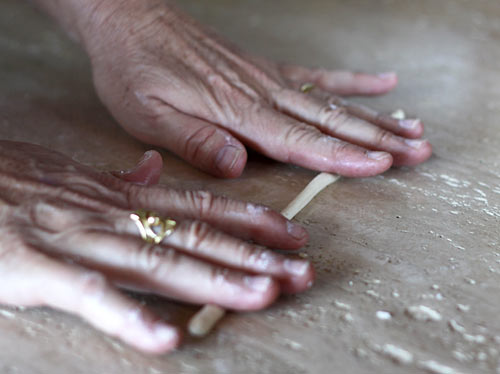
Take one strip at a time, and with lightly oiled fingers first roll into a tube. Next bring both hands to the center of the tube, and while gently rolling with your fingers, begin moving your hands apart towards the ends.
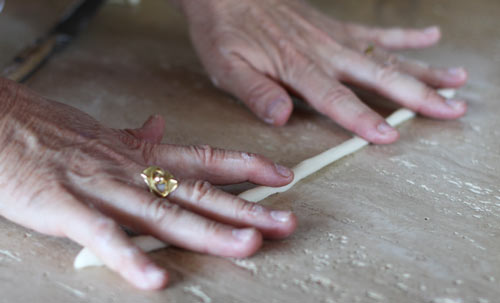
Another view of the rolling process.
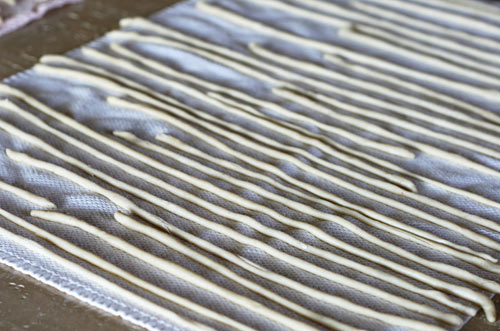
As you complete your pici, place them on a lightly floured kitchen towel. When ready to cook, first bring a large pot of salted water to boil, then gently lift a few of the pici and allow them to sink into the water. Cooking times will depend on the type of flour you use and how long they are left to dry before cooking. Taste test after 5 minutes. The pici shouldbe tender but not at all mushy.
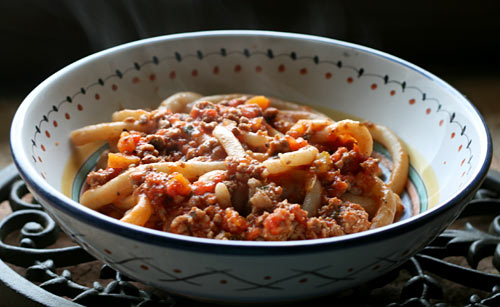
Drain your pici, and return to the pot. Add a couple of scoops of your sauce into the pot and gently shake the pot to coat the pici with sauce. Serve the pici in individual bowls with an additional scoop of sauce on top and offer grated cheese at the table.
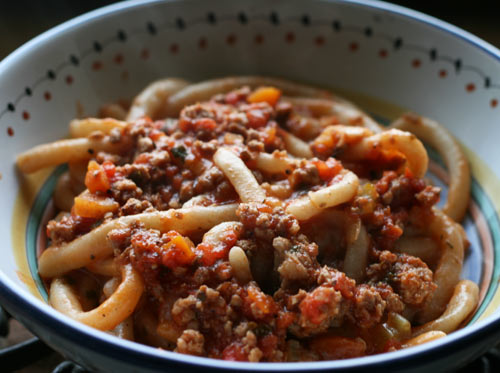
A close-up of a delicious bowl of pici!
Deborah Mele
I am going to try this tonight! Looks so good!
How can you dry and store Pici pasta for future use. Thanks
Carolyn, I have never dried pick myself, so I am not sure.
I made this today, it was great. I do make quite a bit of homemade pasta. I never made pici. This was easier than I expected. Instead of rolling out the disk (the strands didn’t roll out easy for me) so I cut a piece and rolled it out that way. This is a great recipe. Thank you