Cinnamon Hazelnut Biscotti
My husband and I rarely eat dessert, although I do seem to bake quite a bit for my grandchildren when we are back home, or our farmhouse rental guests and Italian handymen when we are in Italy. My husband likes to offer the Italian workers a cup of espresso and some type of sweet to go along with it after they have completed their work which I am perfectly fine with.
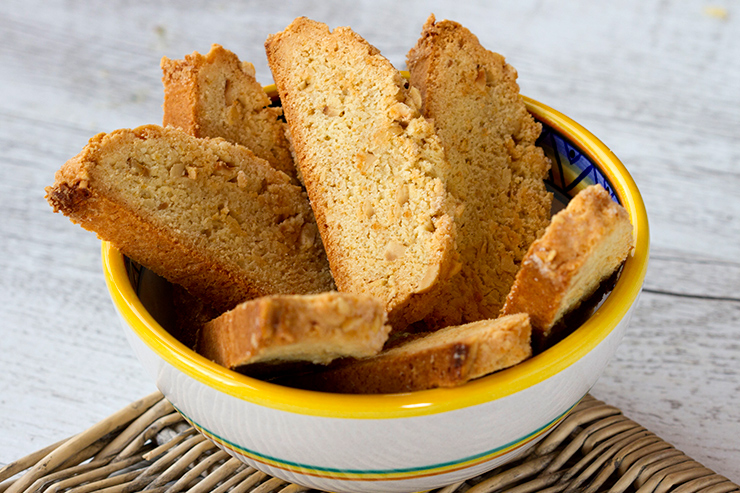
Despite not having a sweet tooth, my husband does enjoy one or two biscotti after dinner. He sometimes dips the cookies into the last of his wine, or simply munches on a biscotti to finish off his meal. Since my husband does not bake, the responsibility for keeping the biscotti jar full lies with me.
My husband likes a dry, reasonably firm biscotti, and would probably prefer a plain one with almonds. Since I am the one making them however and I want to test out different flavor combinations, it is rare that he has the same variety of biscotti twice!
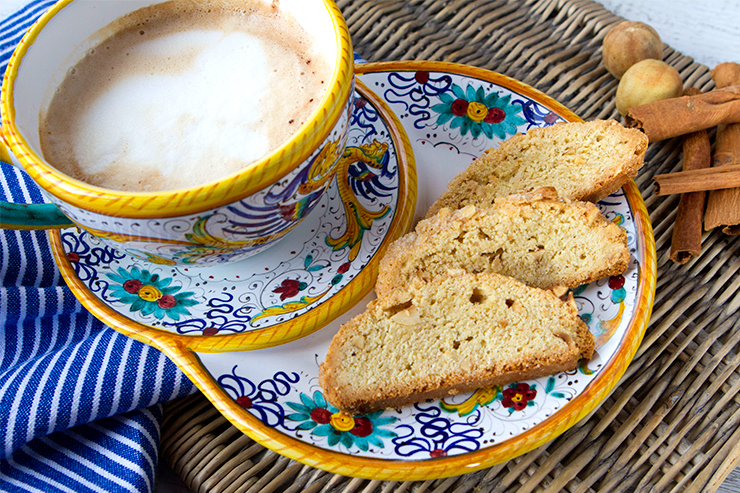
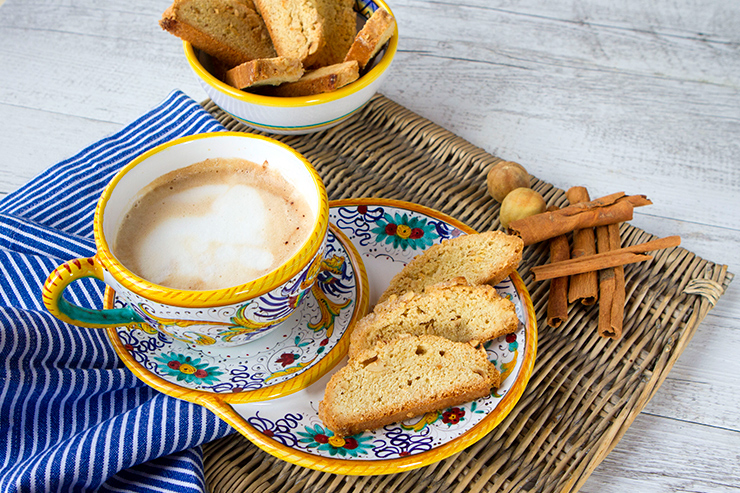
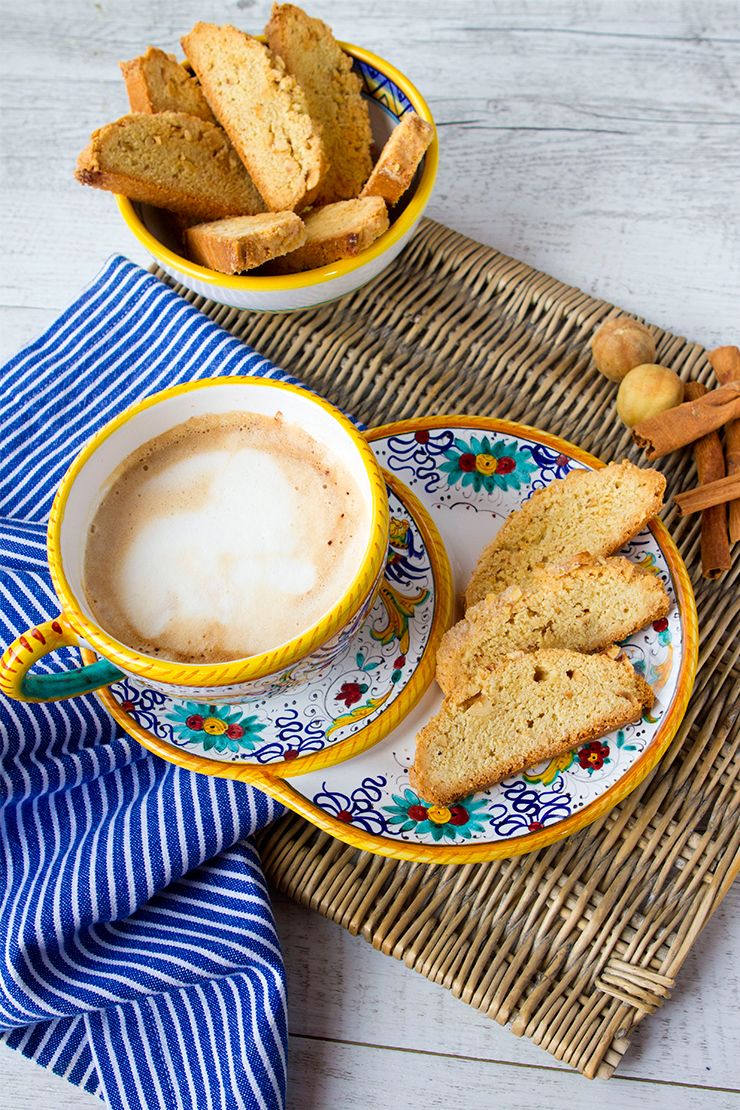
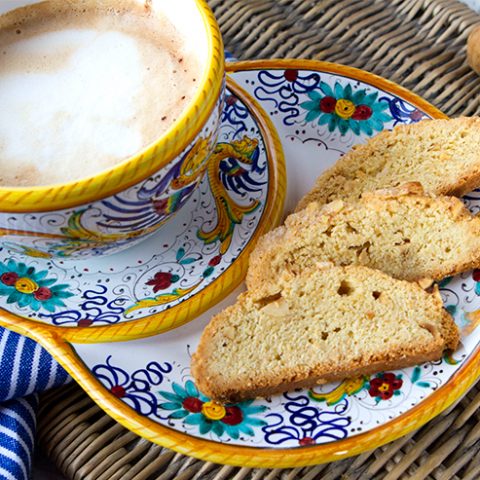
The name biscotti can be translated as twice cooked which indeed describes how these tasty cookies are made. By baking them twice, they lose any excess moisture, which ensures a crisp, dry cookie perfect for dipping. Since biscotti are not very sweet, they are an ideal snack at any time of the day, whether they are enjoyed with a cup of coffee in the morning or dipped into a sweet dessert wine after dinner.
 There are no set rules as to what can and cannot be eaten with this crispy treat, it is traditionally served with coffee or dessert wines in an Italian household. It can also be served with milk, tea, and hot chocolate.
The crisp, dry texture of the cookie makes it ideal for dipping into your favorite beverage. Most twice-baked cookie recipes (biscotti) can be divided into two categories.
The first are those made with eggs as the only adhesive ingredient, and the second are those that utilize butter or shortening as well. The biscotti made with added fat tend to be more delicate in texture than those made only with eggs.
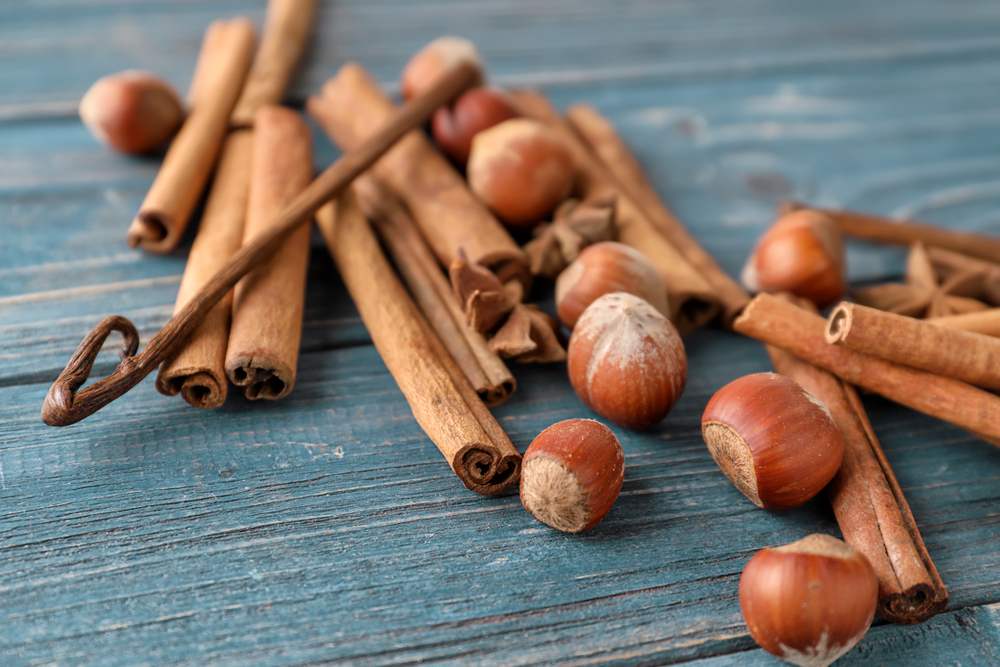
When deciding on the biscotti flavor, I wanted to make recently I was drawn to something with cinnamon. With the arrival of fall, I am all about warm spices and love the aroma of cinnamon wafting throughout our home from the oven.
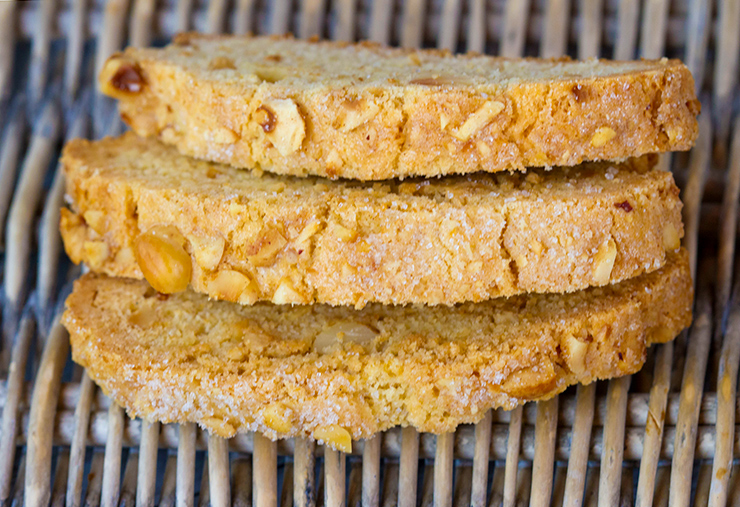
These cookies are subtly sweet with the crunch of hazelnuts and are flavored with cinnamon. I decided to add fat to these biscotti which makes them a little more tender, but I didn’t get any complaints from my husband!
Buon Appetito!
Deborah Mele
Cinnamon Hazelnut Biscotti
Ingredients
- 3/4 Cup Unsalted Butter At Room Temperature
- 1 Cup White Sugar
- 2 Large Eggs
- 1 Teaspoon Vanilla Extract
- 2 1/2 Cups All-purpose Flour
- 1 1/2 Teaspoons Ground Cinnamon
- 3/4 Teaspoon Baking Powder
- Pinch of Salt
- 1 Cup Skinned Hazelnuts, Finely Chopped
Topping:
- 1 Egg Beaten With 1 Teaspoon Water
- 1/3 Cup Sugar
- 3/4 Teaspoon Ground Cinnamon
- 3/4 Cup Finely Chopped Skinned Hazelnuts
Instructions
- Preheat oven to 350 degrees F. and line 2 baking sheets with parchment paper.
- In a medium bowl, using an electric hand mixer beat together the butter and sugar until light and fluffy on medium speed.
- Add the eggs and vanilla and beat until blended.
- In another bowl, stir together the flour, cinnamon, baking powder, and salt.
- Dump the dry mixture into the butter mixture and beat just until mixed.
- Stir in the hazelnuts.
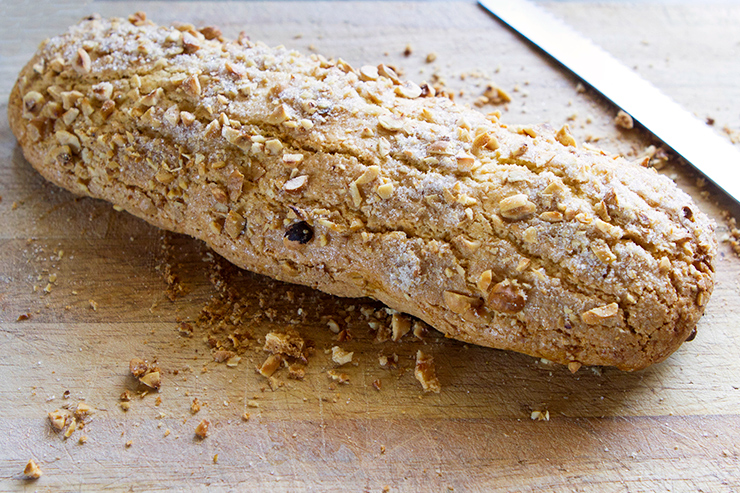
- Dump the mixture onto a lightly floured surface and knead with your hands for a minute or two until smooth.
- Divide into two equal pieces and roll each into logs about 12 inches long.
- Place each log on a baking sheet, and gently flatten with your hands to about 1 inch thick.
- In a small bowl, mix together the sugar, cinnamon, and nuts for the topping.
- Brush the tops and sides of the loaves with the egg mixture, then sprinkle with the topping mixture.
- Use your fingertips to gently press the nut mixture into the logs.
- Bake for 30 minutes until lightly browned and firm to the touch.
- Remove the pans from the oven and cool about 15 minutes.
- Using a serrated knife, cut the loaves into 1/2 inch slices.
- Lay the slices flat on the baking sheets and bake another 10 to 12 minutes or just until they begin to color.
- Remove from the oven and cool completely.
- Store in an airtight container.

Where did you get those cute dishes with the cup attachment??
Thanks for the recipe!!
Best,
Nancy
Nancy they are from here in Umbria at a ceramic store in Deruta.